AI Image Inpainting For Selected-Area Photo Edits

Change the part of an image that needs attention with PixVerse AI image inpainting. Image Region Editor combines a source image, a selected region, and an editing prompt to direct a local redraw. Add reference imagery when the change needs a clearer visual target. Refine an object, clean up a distraction, or explore a different detail within the existing composition. Start from the image already in hand and describe the intended change, keeping the surrounding scene available as context for the edit.

AI Image Inpainting For Focused Visual Changes

A local edit begins with a specific visual problem. Define the region and the change together: which object needs attention, what should replace it, and how the new detail should relate to its surroundings.

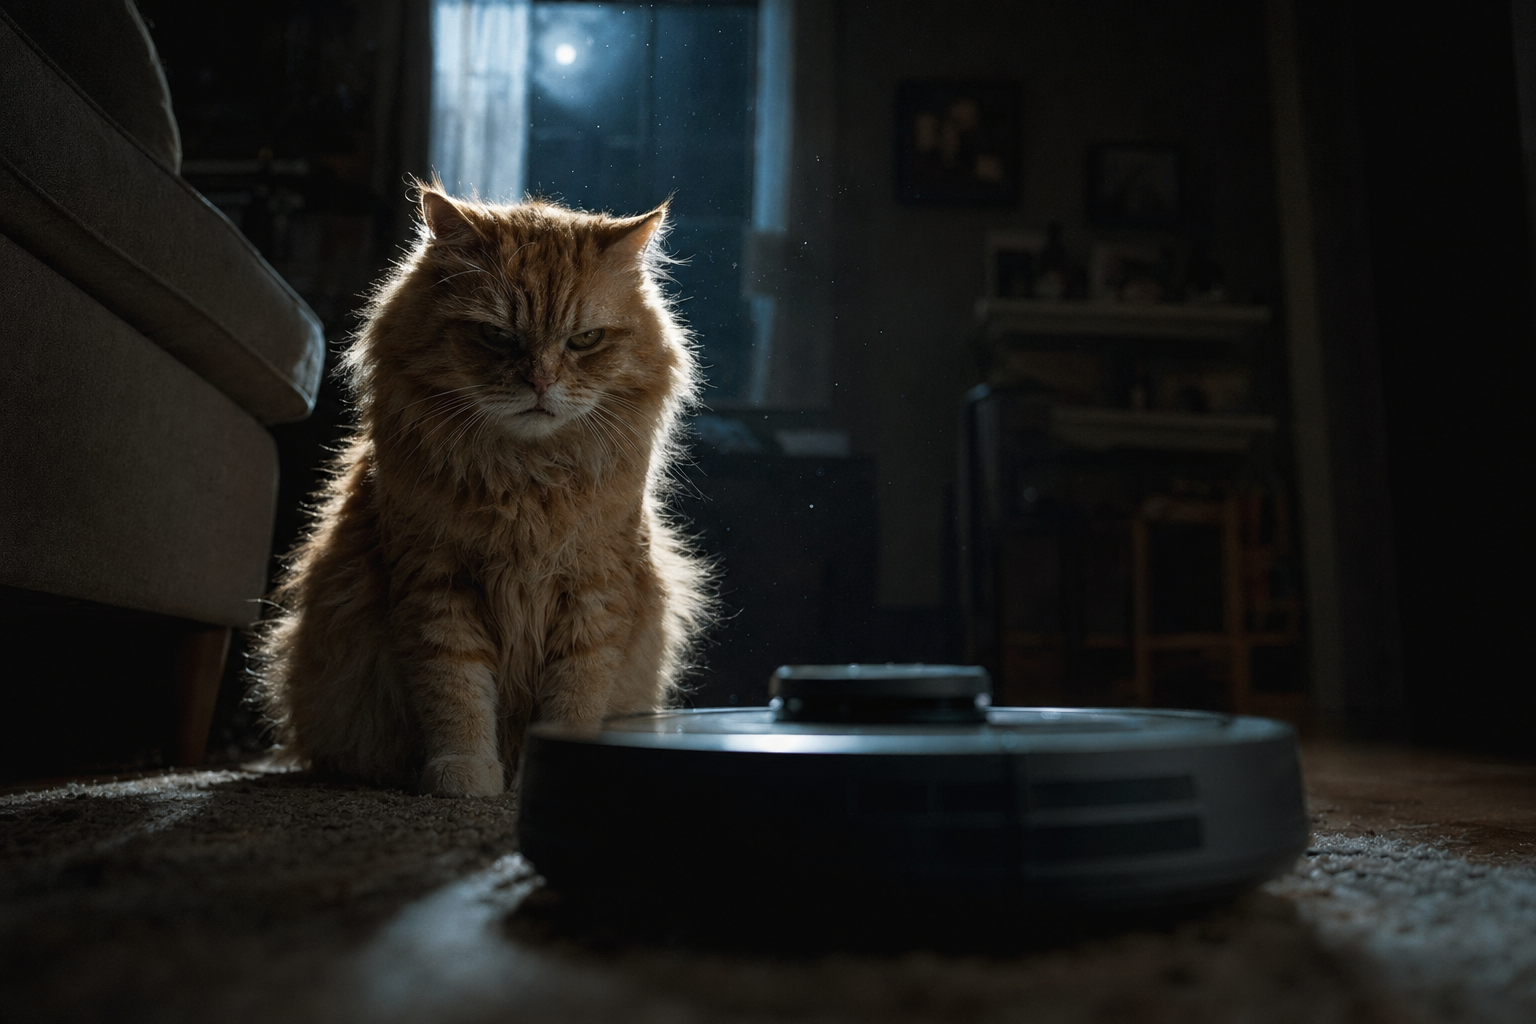
Cat sitting beside a robot vacuum

Replace A Detail Within The Existing Composition

Image Region Editor redraws a selected area using an instruction. A product photo might need a different prop, a room scene might need a revised decorative object, or a character image might need an accessory adjusted. Choose the region around the target and describe the replacement directly. Include material, color, and placement when those details distinguish the intended result. Compare the edited region with the original composition, looking at its relationship to nearby objects, shadows, and the perspective already established by the source image.
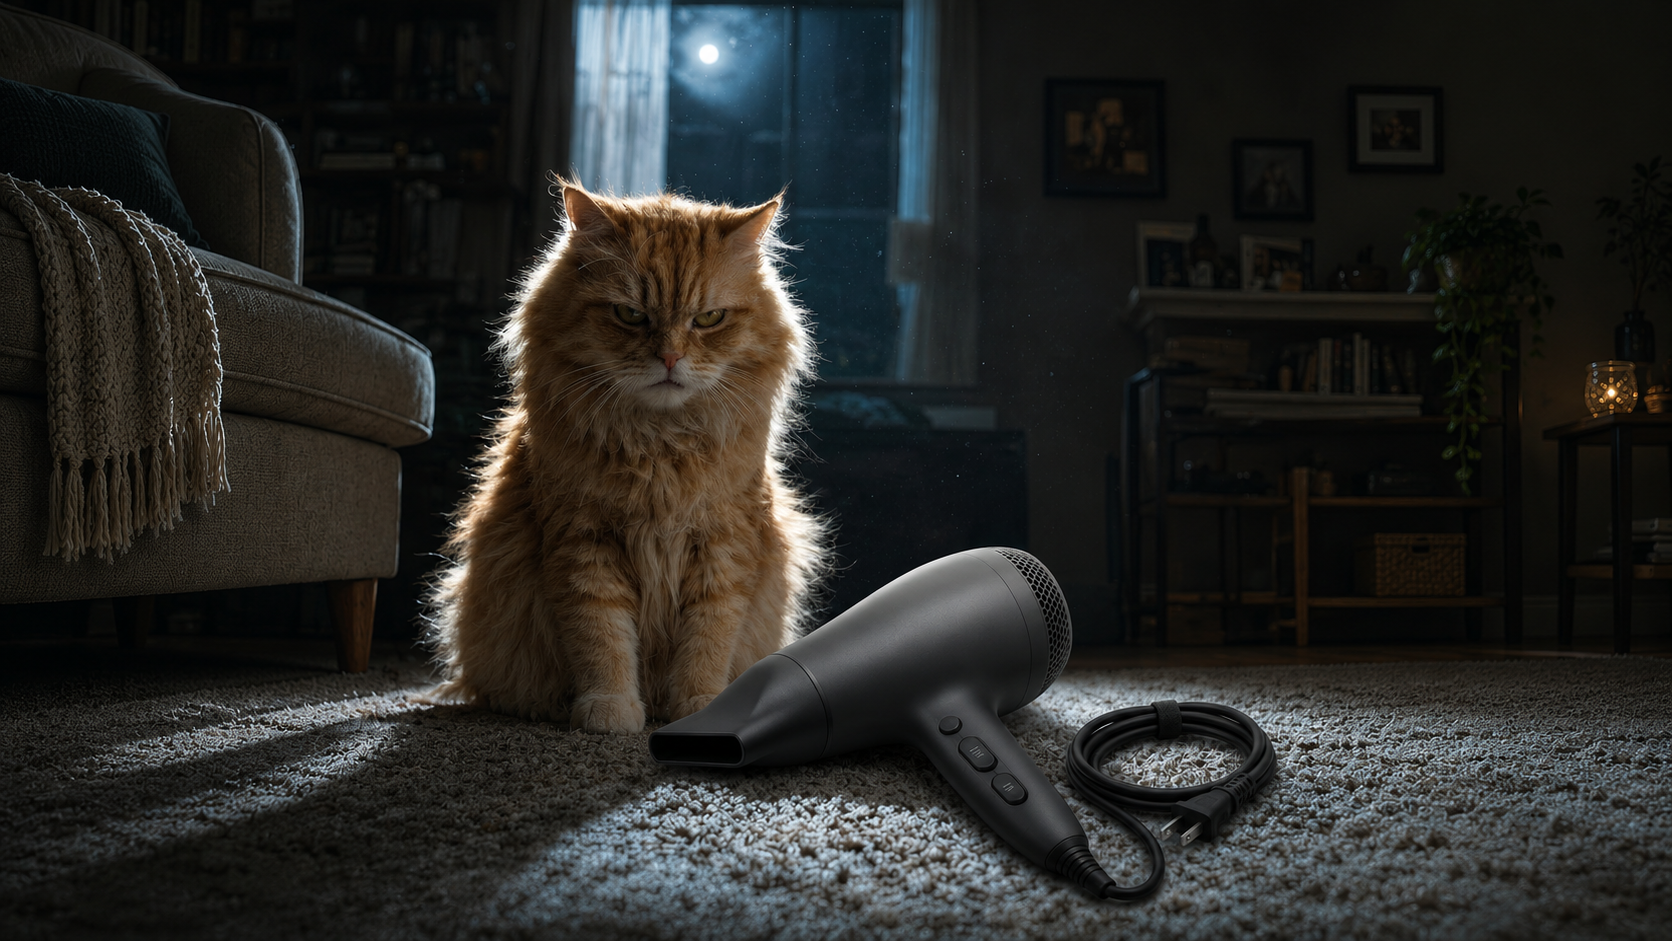
Cat beside a hair dryer after image editing

Remove A Distraction With A Clear Instruction

An unwanted object can pull attention away from the main subject. Select the relevant region and describe the scene that should occupy that space, such as a continuous wall or an uncluttered surface. The surrounding image provides context for the local redraw. Keep the editing task narrow enough to judge: one distraction, one intended replacement, and one review pass focused on the boundary. This creates a more useful comparison than a broad instruction to improve the entire photograph in several unrelated ways.

Control A Selected-Area Image Editor With Better Inputs

The source image, selected region, prompt, and reference material serve different roles. Give each a clear job so the image editor receives an understandable local task instead of several competing directions.

Start With A Supported Source Image

Upload a JPG, PNG, or WebP image up to 20 MB. Choose the version that contains the composition to retain, including the surrounding scene needed to understand perspective and light. A source image with readable details makes it easier to compare the changed area with nearby objects. Keep a copy of the original so the local edit can be assessed independently.

Describe The Replacement Rather Than A General Mood

For a product photo, an inpaint instruction could read: replace the selected prop with a small blue ceramic bowl, matching the table perspective and soft window light. Keep product identity as the visual reference during local object replacement. For object removal, describe the surface that should fill the selected region. Compare the AI photo edit with nearby materials and shadows before choosing the revised image.

Add References For A Specific Visual Target

Optional reference images can help describe the appearance being requested. Use a relevant object, material, or style reference and explain which feature it should guide. Keep the instruction aligned with the selected region. A reference for fabric texture, for example, should support the intended fabric edit rather than introduce an unrelated new composition that conflicts with the source photograph.

How To Use AI Image Inpainting In PixVerse

Work from the local problem outward. Establish the source, identify the region, describe the new content, then inspect the generated edit in the complete image before carrying it into a production asset.

Upload The Image To Edit

Open Image Region Editor and upload the source photograph. Confirm that the preview shows the correct version. Use the original composition as the reference point for deciding what should change and which surrounding details should remain the visual context for the edit.

Select The Relevant Region

Identify the area that contains the intended change. Include the full object or detail involved so the instruction has a coherent target. For an edge or contact point, consider the surrounding context needed to evaluate how the replacement meets the rest of the scene.

Write The Local Editing Prompt

Describe the desired content in plain language. Name the replacement, its visible properties, and its relationship to the scene. Add a reference image when a visual example explains the change more clearly than a longer description. Keep the first attempt focused on one editing task.

Generate And Compare The Result

Run the edit, then compare the source and result at both full-frame and close-up scales. Review the local change, its boundary, and the appearance of nearby objects. Refine the region or wording when the next version needs a more specific object, material, or placement.

Image Inpainting For Product And Character Work

The same selected-area workflow applies to different source images, but the review criteria change with the subject. Product identity and character continuity deserve separate attention from background styling or decorative details.

Refine A Product Scene Without Replanning The Shoot

A product composition can be useful even when one supporting detail needs revision. Use a selected-area edit to explore a new prop, adjust a local surface detail, or remove a distraction beside the item. Compare packaging text, product shape, and nearby reflections with the original before accepting the result. Keep the commercial subject easy to recognize. The purpose is a focused creative revision within an established scene, with the source photograph acting as the visual reference throughout the review process.

Prepare A Character Reference For The Next Shot

A character image may need a small wardrobe or accessory revision before it becomes a video reference. Define that local task, review the face and silhouette in the resulting image, and compare the edited detail with the wider character design. The selected result can then enter an AI video generator as a prepared reference image. Keep source and edited versions together so the team can identify which appearance was selected for the next shot and why it suits the scene.

Generative Fill: Choose The Right Editing Task

Local redraw, image expansion, and whole-image generation are different starting points. Choose the workflow around the visual change needed, then evaluate the result against a concrete source or creative brief.

Use Inpainting For A Region Inside The Frame

Choose image inpainting when a visible area inside the existing photograph needs new content. Examples include an object replacement, a small prop change, or the removal of a distraction. The edit has a defined location and purpose. A specific region makes the before-and-after comparison more meaningful than a request to regenerate the entire scene with several changes at once.

Use Outpainting To Add Space Beyond The Frame

Image expansion addresses missing canvas around the original photograph. It is the appropriate task when the subject needs more surrounding room or the composition needs a different shape. Inpainting instead directs an edit within a selected part of the source. Decide whether the project needs new content inside the current image or additional space beyond its boundary before choosing the tool.

Review Boundaries, Materials, And Perspective

Inspect the transition between the edited area and its surroundings. Look at contact shadows, repeated textures, straight edges, and the relative scale of objects. Then review the full image at its intended display size. This gives the next revision a specific purpose, such as adjusting a material description or clarifying where the replacement object should sit within the composition.

Frequently Asked Questions

AI image inpainting is a selected-area editing workflow. Image Region Editor takes a source image, a chosen region, and an instruction to generate a local redraw. It suits tasks such as changing a prop, replacing an object, or revising a detail while using the surrounding image as context for the new content. The local editing task remains defined by the relationship between the selected region and its surrounding scene.

DNV ISO/IEC 27001 Information Security Management System certification mark

ISO/IEC 27001 Certified Information Security Management

PixVerse maintains an information security management system certified by DNV to ISO/IEC 27001, supporting a structured approach to protecting information across our operations.

Refine The Part That Needs A Change

Open Image Region Editor with a source image and a focused editing task. Select the region, describe the intended replacement, and add a reference when visual direction helps. Review the local change in context, then keep the selected image ready for the next stage of the creative workflow.