How to Use Kling 4.0: A Step-by-Step Video Guide
Learn how to use Kling 4.0 for text-to-video and image-to-video, write stronger prompts, adjust settings, and improve results before export.
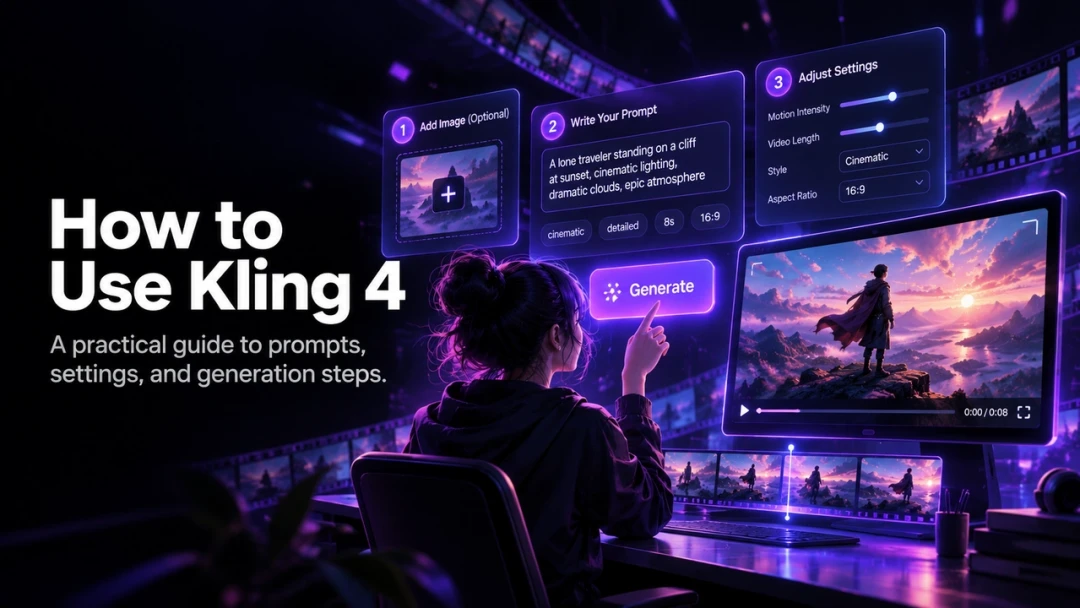
Kling 4.0 turns a written brief or a still image into a short AI video. The most reliable results come from treating each generation like a small production: define the subject, plan the movement, choose the delivery format, then review one variable at a time.
This guide covers a practical text-to-video and image-to-video workflow. Exact availability, plans, credits, and controls can change, so confirm the current options in the Kling interface before starting a deadline-sensitive project.
Start with a Clear Creative Brief
Before opening the generator, write one sentence that answers four questions:
- Who or what is the subject?
- What happens during the shot?
- Where does it happen and what is the light like?
- How should the camera move?
For example: “A red fox trots across a snow-covered forest at dawn. Low-angle shot, slow camera push-in, soft golden light filtering through pine trees, cinematic color grade.”
This structure gives the model a clear priority order. Put the subject and action first. Add visual style and lighting after the core action is already unambiguous.
How to Create a Text-to-Video Clip
1. Open the Text-to-Video Workflow
Choose the text-to-video mode in the creation interface. This is the best place to begin when the entire scene needs to be generated from a written description.
2. Write the Prompt in Layers
Use four prompt layers:
- Subject: the person, product, place, or object on screen.
- Action: the one movement or event that drives the clip.
- Scene: the location, time of day, and atmosphere.
- Camera and style: framing, camera movement, lighting, and visual finish.
Specific verbs work better than general mood language. Write “camera tracks beside the runner at shoulder height” rather than “dynamic camera.” A precise phrase gives the generation a visible instruction to follow.
3. Select Duration and Aspect Ratio
Choose the shortest duration that proves the idea. A short test costs less and makes problems easier to diagnose. Once the subject, motion, and framing work, use a longer generation for the final sequence.
Set the aspect ratio before generating:
- 9:16 for vertical short-form video.
- 16:9 for landscape delivery.
- 1:1 for square social posts.
Changing the format after the fact can crop important parts of the composition, especially faces, products, and text.
4. Tune Motion and Creativity Carefully
Use moderate motion intensity for the first pass. Extreme settings can introduce jitter, drifting backgrounds, or distorted anatomy, especially when the prompt asks for fast movement. Use one dominant camera action per clip, such as a slow dolly, orbit, or tracking shot.
If the interface provides a creativity or relevance control, start near the middle. Move toward relevance when the output needs to follow the written brief closely. Move toward creativity only when visual exploration matters more than exact prompt adherence.
5. Generate and Review
Review every clip for three things: subject accuracy, motion coherence, and framing. Do not rewrite the entire prompt because one detail missed the mark. Identify the single layer that failed, change that layer, and generate again.
How to Use Image-to-Video
Image-to-video is the better choice when an approved photo, product image, or character frame already establishes the required appearance.
1. Choose a Strong Reference Image
Use a clear, high-resolution source with one dominant subject. Clean lighting and a readable silhouette help the model preserve identity. A busy collage or heavily compressed image can create unnecessary ambiguity.
2. Describe Motion, Not the Entire Scene
The image already carries the visual information. Focus the prompt on motion and camera behavior:
“The camera slowly orbits left. The subject’s hair moves gently in the wind. Keep the face, clothing, and background composition stable.”
This is more useful than repeating the visual details that are already visible in the source frame.
3. Use Start and End Frames When Available
An end-frame reference helps when the shot needs to arrive at a known final composition, such as a closed product package opening to reveal the item inside. Keep lighting, perspective, and subject scale similar across both images so the interpolation has a clear path.
Prompt Practices That Improve Results
Use a prompt that is concrete but not overloaded. Start with a single action and one camera movement. The following habits produce more predictable results:
- Name the subject before the mood or style.
- Use one action instead of several unrelated actions.
- Include a camera instruction when framing matters.
- Pair fast motion with a stable camera, or pair a moving camera with a simple subject action.
- Keep a fixed character description across every shot in a sequence.
If the tool offers a negative prompt, use it to flag known artifacts such as distorted hands, duplicate subjects, watermark, flicker, or text overlays. Do not include terms that contradict the look you want; a request for film grain should not also reject grain.
Use Advanced Controls with a Clear Purpose
Advanced controls work best when each one answers a specific creative need:
- Lip sync: for a character speaking to camera.
- Motion brush: for moving one region while holding the rest of a frame still.
- Start and end frames: for a controlled transition.
- Video extension: for continuing a strong base shot.
Avoid stacking every control into the first generation. Build the base shot first, then add an advanced control only when it solves a visible problem.
Common Problems and Practical Fixes
The Subject Looks Wrong
Add concrete visual anchors: clothing material, hair style, pose, and a distinguishing object. If the identity still drifts, use image-to-video with a reference frame instead of relying on text alone.
The Camera Does Not Follow the Prompt
Replace vague wording with one filmmaking term: “slow dolly in,” “locked-off wide shot,” or “tracking shot from behind.” Remove any competing camera instruction.
The Motion Is Unstable
Reduce the number of moving subjects, lower motion intensity, and remove contradictory directional language. A single action with a clear speed qualifier is more stable than a long list of simultaneous movements.
Consider PixVerse for Flexible Production
The prompt skills in this guide transfer directly to other AI video tools. The PixVerse AI video generator workflow is a useful option for testing the same creative brief across a flexible video workflow, with common social, square, and landscape formats available in one platform. Running a controlled side-by-side test helps you decide which workflow fits your recurring production needs.
Final Checklist
Before you generate, confirm that the subject, action, camera direction, aspect ratio, and duration are all intentional. Generate a short baseline, fix only the layer that misses, then make the final render after the shot is stable. This approach protects credits and produces a more consistent video library over time.
Related Kling 4.0 Reading
- Use the Kling AI 4.0 prompt guide for camera, motion, and negative-prompt examples.
- Compare the generation workflow in Kling 4.0 vs Seedance 2.5.
- Review credit limits and options in Is Kling 4.0 Free?.