Build Cinematic Videos with PixVerse and GPT-6 Astra: Creator Guide and Use Cases
Build cinematic videos, motion graphics, and interactive experiences with PixVerse and GPT-6 Astra using controlled AI video workflows.
GPT-6 Astra and PixVerse bring planning, local creative tools, and AI video generation into one practical production path. Through PixVerse with GPT-6 Astra, creators can start from a structured brief in ChatGPT, prepare 3D or editing assets locally, and use the PixVerse plugin to turn approved references into cinematic video, motion graphics, or interactive creative work.
This workflow is for creators who need more control than a text-only video prompt can provide: directors testing a camera route, 3D artists building an editable previs, teams protecting a character or product layout, and editors preparing a finishing pass. Astra helps organize and execute the creative task in a desktop environment; PixVerse provides the generation step that turns intentional references into a finished visual result.
Key takeaways
- Use Astra to turn a creative brief into a structured production task, then use PixVerse for the final AI video pass.
- Let a preview video control motion, camera, and layout; let a still image control appearance, materials, and lighting.
- Start with short, reviewable shots and preserve the editable scene, source references, and approved outputs for revisions.
What is GPT-6 Astra with PixVerse?
The PixVerse Astra page presents GPT-6 Astra as a way to create with PixVerse through the ChatGPT desktop app. The core idea is simple: use a detailed production brief to define the scene, build or prepare visual references, then send the relevant inputs to PixVerse through the installed plugin.
For video production, this creates a useful division of responsibility. A 3D preview or reference video can establish spatial layout, action timing, composition, and camera movement. A separate appearance reference can establish materials, lighting, environment, color, and subject design. PixVerse can then generate the final video while following those intentionally separated creative signals.
This is especially valuable when a project needs a repeatable handoff between concept, previs, generation, and review. It is not a promise that every generated take will be identical to its reference. Teams should review outputs, preserve approved versions, and regenerate only the shots where a specific requirement has clearly failed.
Why use PixVerse in an Astra workflow?
PixVerse is the AI video generation layer in this workflow. Rather than treating generation as a disconnected final step, it can use the visual materials prepared by the creative process: a gray-model animation for movement and a reference image for the desired finish.
That gives creators a more deliberate way to work with complex scenes:
- Plan camera motion and framing before the final generation pass.
- Keep a 3D scene, animation, or edit project available for later revisions.
- Give different references clear roles instead of asking one prompt to solve layout, timing, appearance, and motion at once.
- Review each shot for continuity, anatomy, occlusion, timing, and visual defects before combining it into a longer edit.
For broader creation options, PixVerse also supports AI video generation, text-to-video, and image-to-video workflows. The Astra integration is most useful when the creative job benefits from a structured plan and external production assets.
How to get started with GPT-6 Astra and PixVerse
The setup on the official PixVerse Astra page has three steps:
- Download and sign in to the ChatGPT desktop app.
- Install the PixVerse plugin for ChatGPT.
- Start from an Astra use case, adapt the production brief to your scene, and create with PixVerse.
Before generating, decide what each asset is meant to control. This small planning step prevents a common failure mode: asking one low-detail preview to define everything about the final image.
| Input | Best used to control | Keep it focused on |
|---|---|---|
| Gray-model or white-model video | Camera path, timing, spatial layout, action, framing | Geometry and motion, not final materials |
| Still reference image | Appearance, lighting, texture, color palette, subject identity | The final visual direction |
| Scene file or edit project | Revision, rigging, layout changes, handoff | Editable source work |
| PixVerse generation brief | What must remain stable and what may be enhanced | Clear constraints and review criteria |
A reliable production loop
Start with a short, testable sequence rather than a full film. Build the blocking, camera movement, or action in the tool that fits the job. Export a clean preview, prepare the appearance reference, and create one PixVerse task per shot when continuity matters.
Then review the entire take at normal playback. Check the requirements that matter most for the scene: camera flow, object count, subject position, readable action, hand or wheel contact, ground contact, and the absence of unwanted cuts or layout changes. If a shot fails, identify whether the cause is the preview, the appearance reference, or the generation direction before changing only the affected part.
Four Astra workflows by production category
These four examples cover four distinct production needs. Each workflow keeps the public article focused on the outcome and the reusable production path; it does not display the underlying reference assets.
| Category | Example | Best for |
|---|---|---|
| Film previs | Simulate a 3D Race Car Crash | Planning fast vehicle action, camera tracking, and shot continuity |
| 3D modeling | Create a Police Car Pursuit Scene | Turning gray-model staging into a photorealistic action sequence |
| Game development | Create a 3D POV Wizard’s Workbench | Building a controlled first-person interactive scene |
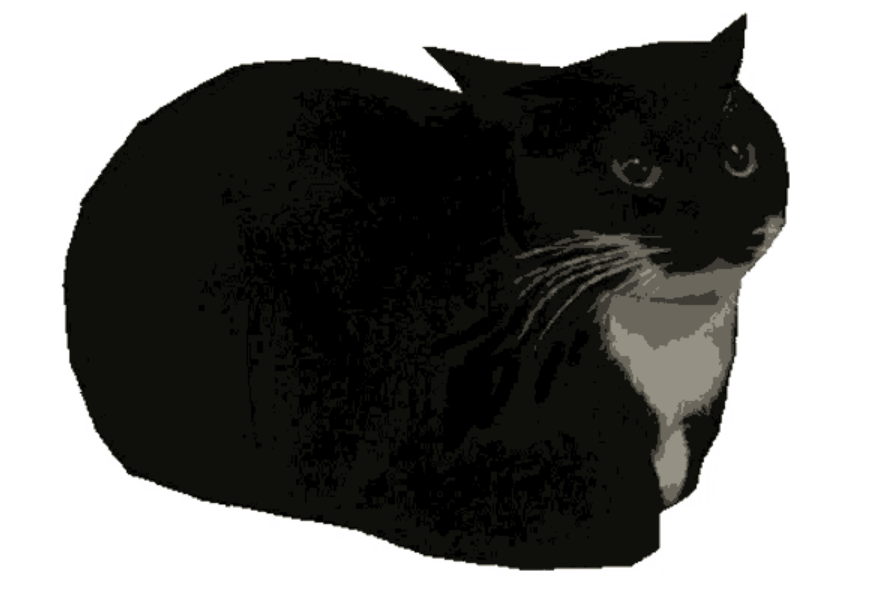
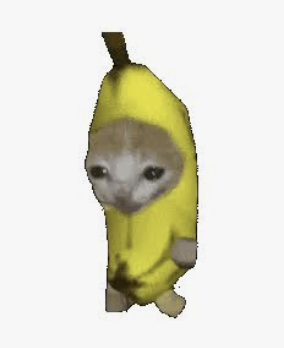
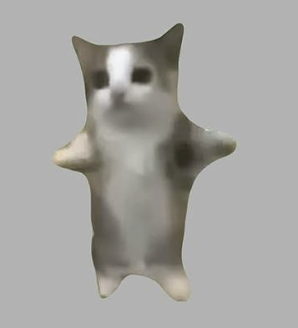
| Internet culture | Build a Live Cat Meme Stage | Producing a character-led meme performance with consistent identity |
Film previs: Simulate a 3D Race Car Crash
This workflow is designed for a stylized car chase where motion, vehicle order, and camera direction must remain legible before the final PixVerse pass.
Final video
Full workflow prompt
Create an original GTA-inspired cartoon car chase using this workflow: Design: Define one main driver, one getaway car, one pursuing car, and one urban environment. Keep their designs consistent. Plan three 4-second shots: rear tracking pursuit, side tracking through a sharp turn, and a wide exit shot. Build in Blender: Create clean gray models and functional character and vehicle rigs. No textures or UV unwrapping are required. Animate and test: Animate the driver, steering, wheel rotation, vehicles, and cameras. Maintain coherent travel direction and vehicle order. Fix clipping, floating wheels, sliding tires, broken poses, and hands losing contact with the steering wheel. Render in Blender: Render frames 1–288 at 1280×720, 24 fps. Assemble actual Blender-rendered frames into a complete 12-second gray-model master. Export each shot separately and render matching gray stills as shape and composition references. Video prompt: Use Seedance 2.5 at 720p, processing each shot separately. Use the Blender clips as motion references and the gray stills as shape references. Define a consistent cartoon color palette. Preserve camera movement, action timing, character and vehicle designs, and vehicle count. Review and deliver: Inspect both complete videos for visual defects and continuity. Repair Blender issues and regenerate only failed Seedance shots, with at most two retries per shot. Deliver the editable .blend, the native 720p Blender gray-model video, the separately labeled 720p Seedance version, and a brief assessment of remaining limitations.
3D modeling: Create a Police Car Pursuit Scene
This case is useful when an action scene needs a realistic visual finish while retaining an editable 3D plan for composition, vehicle trajectories, and timing.
Final video
Full workflow prompt
Create an original GTA-inspired car chase with a photorealistic, live-action cinematic finish, using this workflow: Design: Define the driver, two cars, and urban environment. Plan three 4-second shots: rear tracking pursuit, side tracking through a sharp turn, and a wide exit shot. Keep identities and vehicle order consistent. Build in Blender: Create clean gray models and functional character and vehicle rigs. No textures or UV unwrapping are required. Animate and test: Animate the vehicles, wheel rotation, steering, driver, and cameras. Fix clipping, floating wheels, sliding tires, broken poses, and hands losing contact with the steering wheel. Render in Blender: Render the complete 12-second gray-model video at 1280×720, 24 fps, using actual Blender-rendered frames. Export each 4-second shot separately and extract its first frame. Image prompt: Transform each shot’s gray first frame into a photorealistic cinematic reference image in PixVerse. Preserve composition, perspective, subject positions, and vehicle count. Replace simplified gray geometry with realistic people, detailed cars, believable architecture, natural materials, and cinematic lighting. Keep the same driver, car designs, colors, and lighting across all three images. Avoid cartoon, toy-like, low-poly, or clay-render styling. Video prompt: Use Seedance 2.5 at 720p, supplying the cinematic reference image together with its corresponding gray-model video. The image defines appearance and realism; the video defines camera movement, spatial layout, vehicle trajectories, and action timing. Generate each shot separately. Review and deliver: Check realism, identity consistency, vehicle count, motion, and shot continuity. Repair faulty shots, with at most two retries per shot. Deliver the editable .blend, native 720p Blender gray-model video, cinematic reference images, separately labeled 12-second Seedance version, and a brief assessment of remaining limitations.
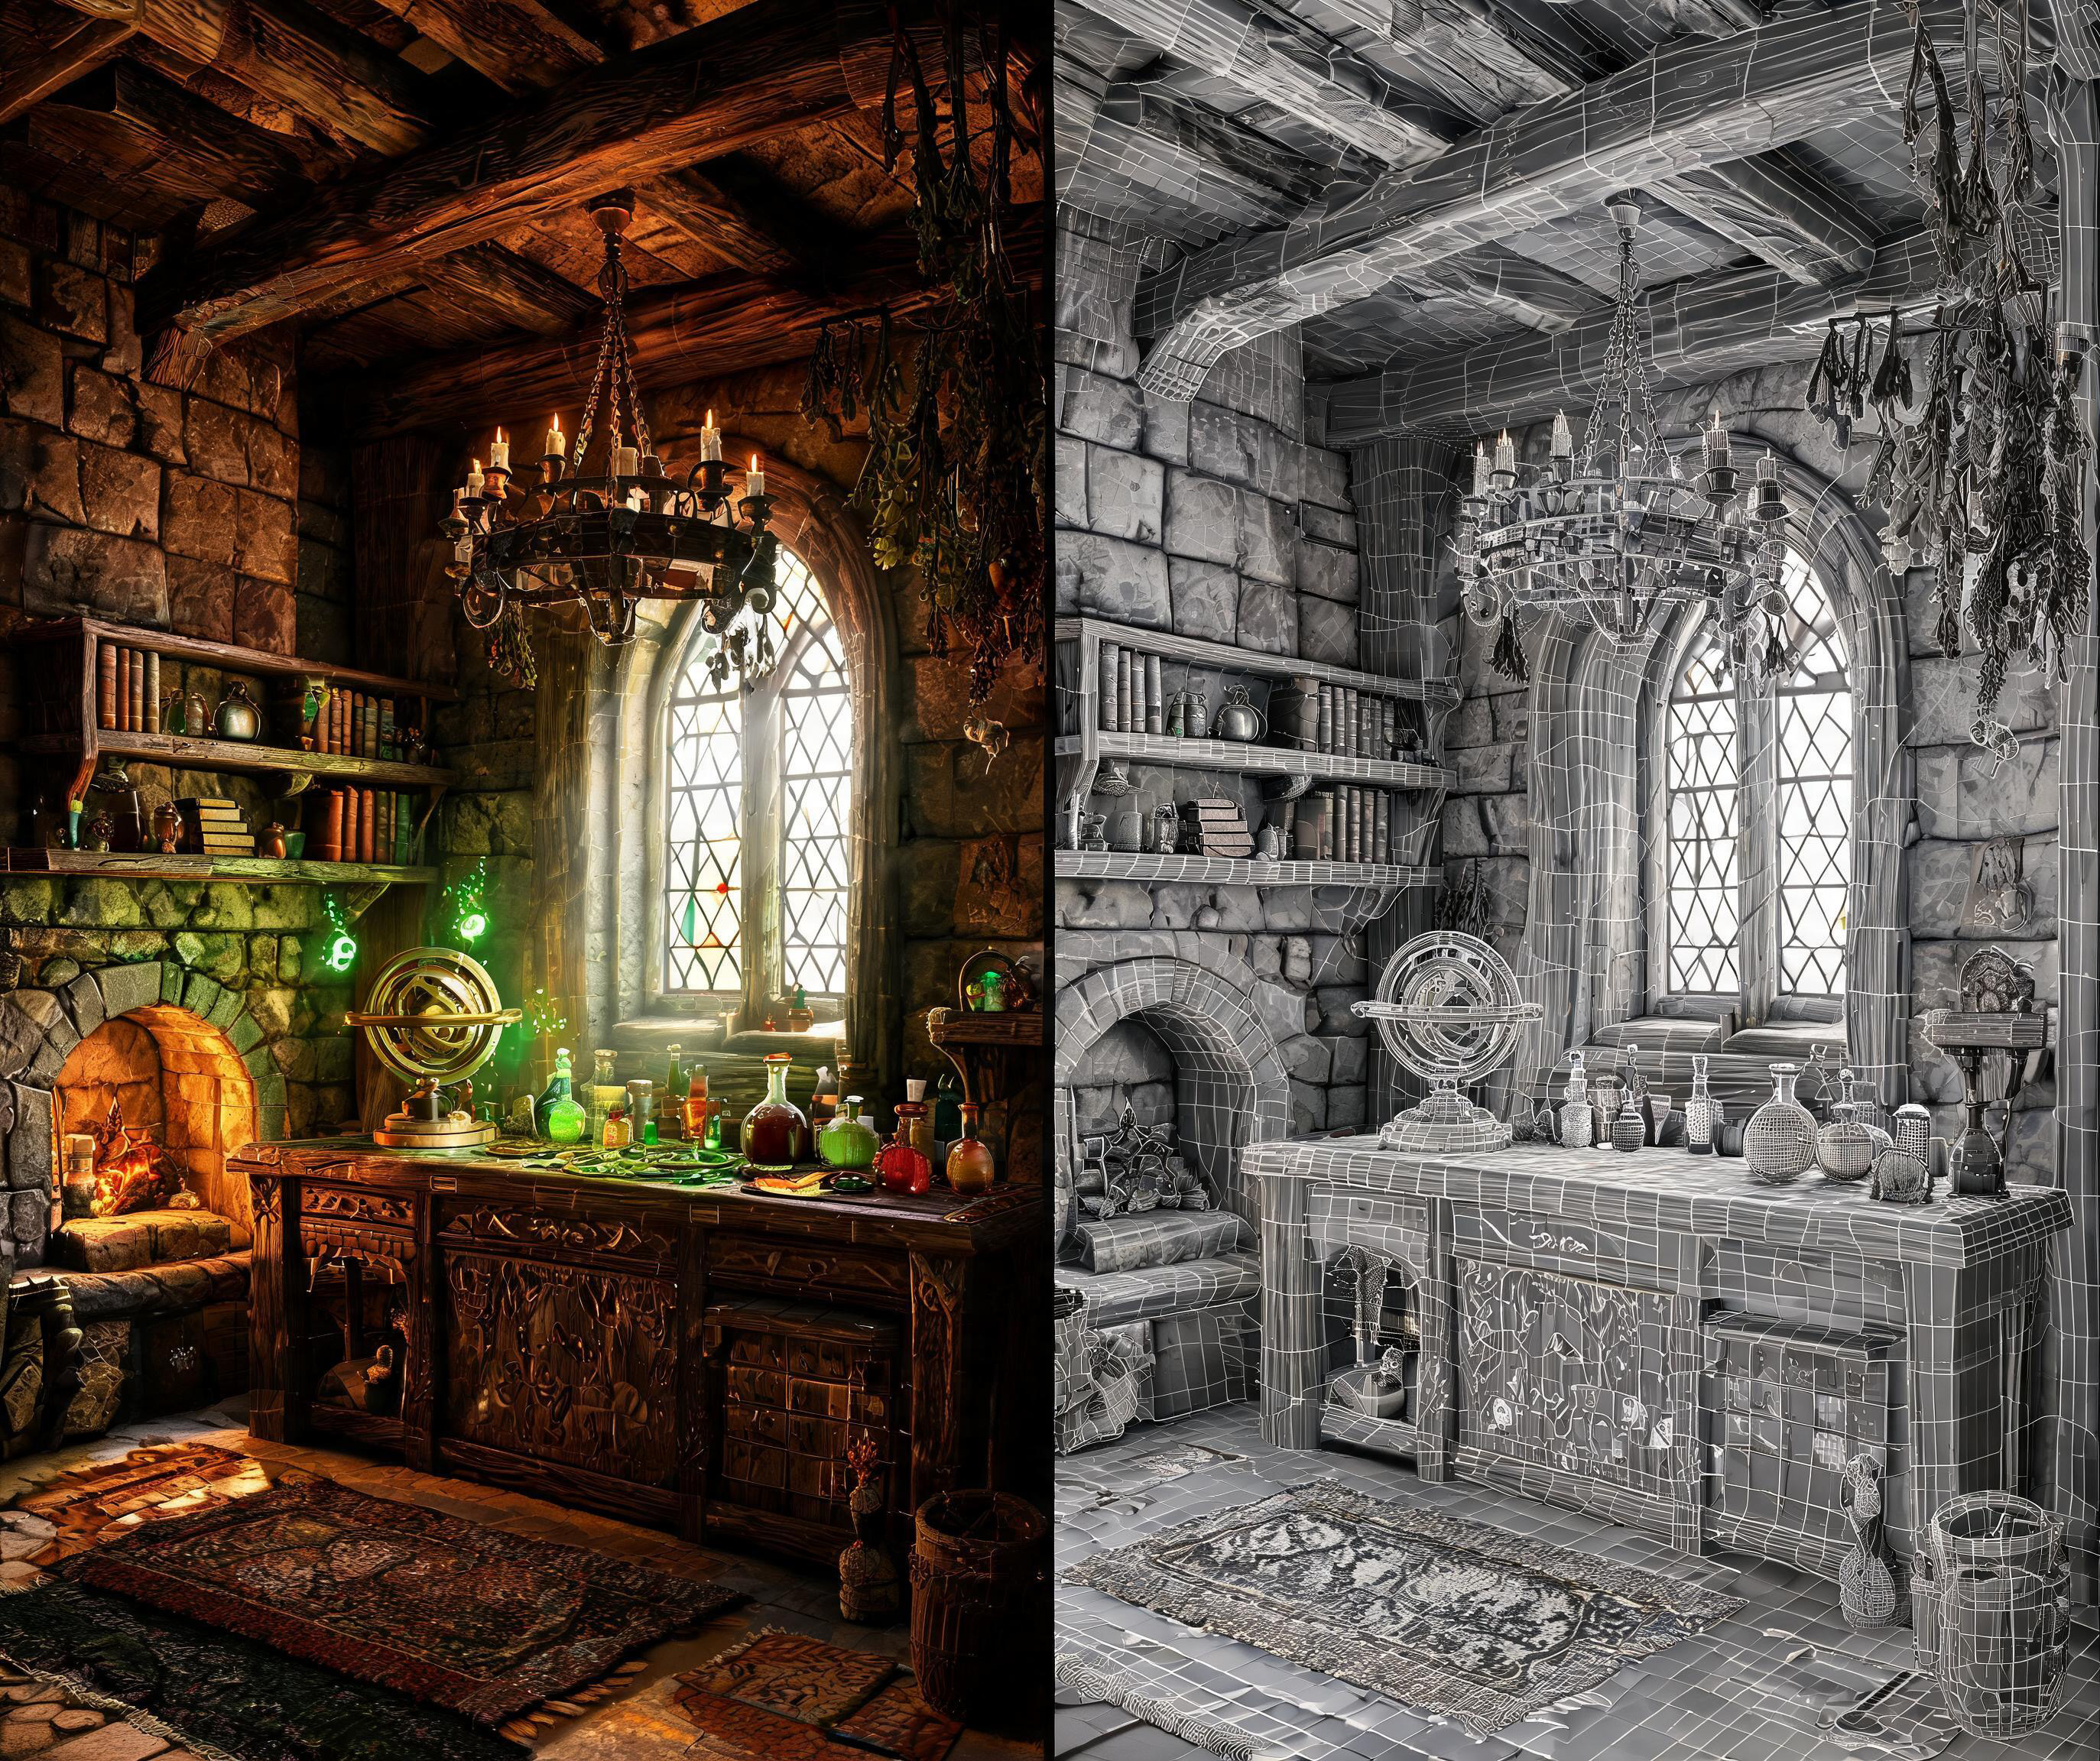
Game development: Create a 3D POV Wizard’s Workbench
This first-person example centers on gameplay readability: one hand, one prop, a continuous camera move, and a stable room layout.
Final video
Full workflow prompt
Create a 12-second, single-take white-model animation in Blender based on the attached reference image https://media.pixverse.ai/asset/media/WizardRoom.jpg, then use PixVerse with Seedance 2.5 to transform the exported animation into a cinematic, Witcher-3-inspired wizard workshop sequence. In Blender, use the reference image to guide the room layout, architecture, furniture, and props. Build an editable low-poly scene with clean meshes and UVs, using simple white or light-gray materials. Include stone walls, wooden shelves, an arched window, a fireplace, books, an astronomical instrument, and an alchemy table filled with potion bottles. Keep the silhouettes readable and the room proportions believable. Animate a low first-person viewpoint with exactly one right hand holding one potion. Begin with the bottle resting near the lower-right edge while the character looks around the workshop and toward the window. Raise the potion naturally, pause to examine it, shift focus onto the bottle, then lower it while turning toward the fireplace and glowing reagents. Leave a small gap between the palm and bottle while maintaining believable fingertip contact. Use smooth changes in speed, gentle curved head movements, subtle breathing, and slight arm lag. Check the complete action at normal playback for clipping, awkward grip, abrupt turns, and excessive shaking. Keep the Blender fireplace simple: use logs, low embers, and flickering light. Avoid solid cones or flame-shaped meshes, which can be interpreted as glowing rocks. Prepare a separate fireplace detail from the reference image to guide the final appearance. Video prompt: Export the complete white-model MP4. Generate a 12-second video with PixVerse, using the Blender-exported white-model video as the camera, action, and spatial reference, the attached image as the scene appearance reference, and the fireplace detail as the fire reference. Preserve the continuous shot, low viewpoint, single-hand potion action, room layout, and timing. Enrich the scene with weathered stone, carved wood, worn leather, iron fittings, and realistic glass. Combine cool window light and drifting dust with warm fireplace illumination and softly glowing magical liquids. Create natural wood fire with thin, irregular flames curling between charred logs, glowing embers, occasional sparks, and subtle smoke. Keep the hand anatomy, bottle shape, fire movement, and focus transitions consistent throughout. Review the full generated video, especially the hand action and fireplace. Deliver the white-model MP4, the PixVerse-rendered MP4, and the editable Blender project.
Internet culture: Build a Live Cat Meme Stage
This workflow uses a recognizable five-character meme cast in a staged performance, making it a useful template for creator-led social formats that need identity continuity across a longer sequence.
Final video
Full workflow prompt
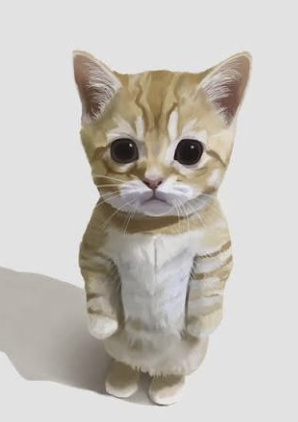
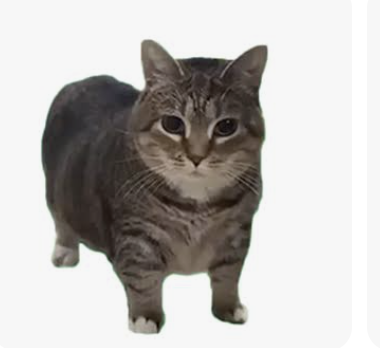
First download these five reference images: https://media.pixverse.ai/asset/media/CATMEME3.png, https://media.pixverse.ai/asset/media/CATMEME1.png, https://media.pixverse.ai/asset/media/CATMEME0.png, https://media.pixverse.ai/asset/media/CATMEME4.png, and https://media.pixverse.ai/asset/media/CATMEME2.png. Inspect their contents and arrange the characters from left to right as the banana-suit cat, black tuxedo loaf, brown tabby, gray-white happy cat, and orange kitten. Build an editable Blender neon concert stage with a glossy black floor, LED side walls, a raised center platform, and the exact backdrop text “MEME LIVE / PixVerse.” Preserve the reference appearances using shallow photo-textured models with the same character photograph visible on both front and back. Keep all five cats bouncing on separate fixed marks; only the black tuxedo loaf and brown tabby continuously spin. Create a 15-second, 24fps animation with flashing concert lights, a wide opening, individual cat close-ups, and a circling crane ending. Inspect and fix the scene, then export the editable project, a Cycles-rendered color video, a matching gray model video, and the exact color first frame. Image prompt: Use PixVerse to redraw that first frame with strong photographic realism, dramatic cyan–magenta lighting, and realistic stage materials while preserving the layout, characters, and text. Video prompt: Use Seedance 2.5 in PixVerse to generate the final video using the redrawn scene as the appearance reference, all five downloaded character images as identity references, and the gray video as the motion and camera reference. Validate upload requirements and proportionally resize reference copies when necessary. Inspect character consistency, spinning reverse textures, lighting, and camera cuts; deliver exactly 15 seconds at 1080p and 24fps without audio. Save and package all final assets and editable sources locally, move superseded versions to Trash after verification, and open the final Blender project in its animated camera view with playback running.
Tips for better Astra-to-PixVerse results
Use these guidelines before sending a complex scene to generation:
- Name the creative authority. Say whether an image controls appearance and whether a preview controls motion and layout.
- Keep each shot short and purposeful. A specific camera move is easier to inspect than a long sequence with several competing actions.
- State the invariants. Mention the character, vehicle, prop, architecture, object count, or camera move that cannot change.
- Describe failure cases. Exclude unwanted cuts, flicker, extra subjects, occlusion, floating, layout changes, or unstable anatomy when they matter to the shot.
- Review at normal speed. Fast scenes can look convincing in a still frame while failing in motion.
- Retain source assets. Keep the editable scene, reference image, preview, generation settings, and approved outputs together for a faster revision cycle.
FAQ: GPT-6 Astra and PixVerse
Do I need a 3D scene to create with Astra and PixVerse?
No. A 3D scene is most helpful when you need deliberate control over space, camera movement, timing, or interaction. You can also begin with a reference image and a concise creative brief. For complex action, architecture, or multi-shot storytelling, an editable preview gives the generation process a clearer motion and layout reference.
Why use both a preview video and a reference image?
They solve different problems. A preview video can define camera movement, composition, spatial layout, and action timing. A reference image can define materials, lighting, color, and subject appearance. Keeping these roles distinct makes it easier to state which elements must remain stable and which elements PixVerse should enhance.
What should I review before approving a PixVerse shot?
Review the full shot rather than only the first frame. Check camera continuity, framing, subject identity, object count, anatomy or mechanics, ground contact, occlusion, motion timing, visual defects, and audio when relevant. Save both the approved video and its source references so a later correction has a clear starting point.
Can this workflow support post-production?
Yes. Treat post-production as a finishing and quality-control stage: preserve the source project and delivery specifications, assess each shot with the right scopes and visual review, and distinguish correctable grade issues from generation problems that need a new source or take.
Create your next controlled AI video workflow
GPT-6 Astra x PixVerse is most useful when an idea needs more than a single text prompt. Use Astra to shape the production task, create or organize the references that matter, and use PixVerse to generate the finished visual result. Start with one short scene, give every reference a clear job, and build a review loop around the elements your project cannot afford to lose.
Ready to experiment? Open the PixVerse GPT-6 Astra page, install the PixVerse plugin in ChatGPT, and choose a use case to recreate or adapt for your next project.