AI Video Generator From Script: A Creator Workflow
Turn a finished script into a planned AI video workflow with practical steps for scene direction, style consistency, audio, review, and export.
Introduction
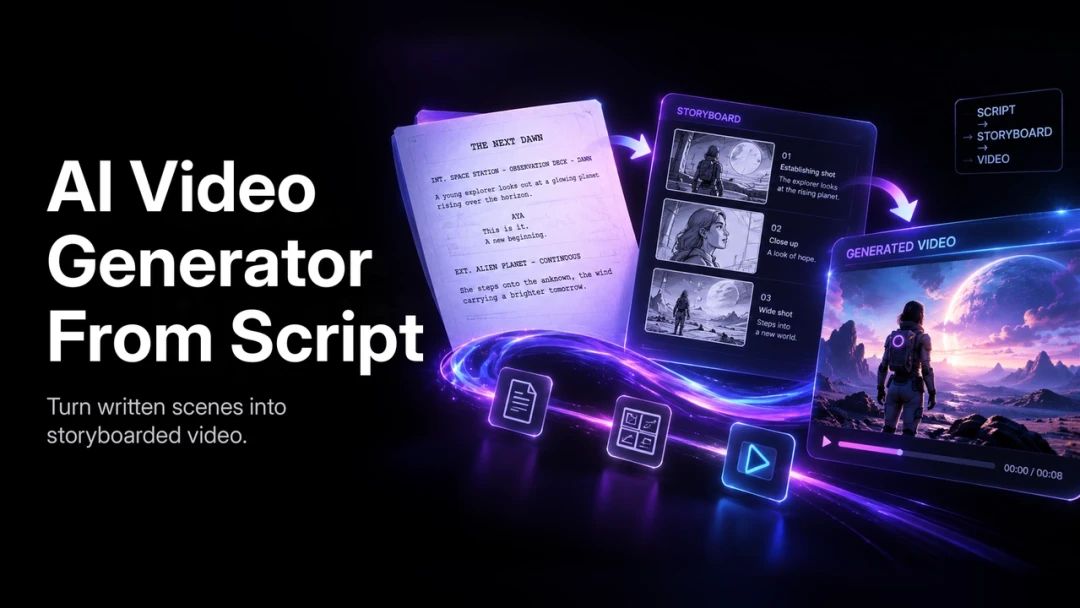
An AI video generator from script can help a creator move from written words to visual scenes without beginning from a blank timeline. A script supplies narrative order, dialog, and key actions; the AI workflow turns those elements into shot directions that can be generated, reviewed, and assembled into a finished edit.
This does not mean every script should be pasted in as one block and rendered once. The most dependable script-to-video process treats the script as a production blueprint. It separates scenes, identifies the essential visual information, and gives the creator a chance to control pacing before the final export.
What Can You Make From a Script?
Script-based video is useful whenever a team already knows what it wants to say but needs an efficient way to visualize it. Common formats include product demos, social campaigns, explainer videos, trailers, training modules, and short narrative scenes.
The same script can also support multiple versions. A marketing team might use one core message to produce a vertical cut for social media, a wider version for a landing page, and localized edits for different markets. The creative direction should remain consistent, while the duration, framing, captions, and call to action can change by channel.
Prepare the Script Before Generation
A clear source script saves time later. Before opening a generator, finalize the key wording, label the scene changes, and decide what viewers should see during each beat. If exact narration or approved marketing language matters, lock it before the visual work starts.
Build a scene-ready outline
Break the script into short sections that have one job each. For every section, identify:
- The message or action
- The subject on screen
- The setting and visual tone
- A framing or camera instruction
- Any required dialog, caption, or sound cue
For a product demo, “introduce the product” is not yet a usable direction. “Close-up of the product on a clean desk; camera slowly arcs right as the key benefit appears in a caption” is a scene with a clear visual purpose.
Choose the right entry point
Use text-to-video when the scene begins as an idea. Use image-to-video when a visual reference has to remain recognizable, such as a product photo, character design, or campaign key visual. PixVerse offers both paths through its AI video generator, so a production can choose the input that creates the most control for each scene.
Turn a Script Into a Shot Plan
AI works best when a long script becomes a series of manageable instructions. Rather than asking for a finished two-minute video all at once, make a shot plan.
- Mark the narrative beats: opening, problem, proof, payoff, and closing.
- Assign one visual idea to each beat.
- Write a short prompt that describes subject, action, setting, camera, and mood.
- Generate a small number of options for the key shots.
- Select the versions that support the script before generating supporting footage.
This process makes feedback specific. A reviewer can ask for a calmer camera move, a closer product angle, or a clearer transition instead of rejecting an entire video for an unclear reason.
Direct Scenes Without Losing Creative Control
An effective scene prompt expresses what the camera should communicate, not just what objects should appear. Include the action and point of view: a slow push-in suggests attention; a wide shot establishes a location; a close-up can carry emotion or product detail.
Keep the first version focused. If a scene requires a complex sequence, split it into separate shots. This gives the editor choices and avoids asking the model to solve multiple unrelated events in one short clip.
Review before final rendering
Use a storyboard mindset even if the platform does not create a formal storyboard. Lay approved shots next to the script and check:
- Does the opening establish the intended tone?
- Does every visual support the words being spoken?
- Is the subject recognizable from shot to shot?
- Are there enough cut points for pacing?
- Does the closing make the next action clear?
This review is where a script becomes an edit. It also prevents a common problem: attractive individual clips that do not add up to a coherent story.
Add Audio, Captions, and Lip Sync Deliberately
Audio should be planned alongside the visuals. Decide whether a scene needs dialog, voiceover, music, ambient sound, or silence. When a character speaks, test lip sync and voice timing in context rather than treating them as a last-minute addition.
Captions deserve the same attention. Keep them short enough to read at the intended playback speed and place them where they do not cover important visual information. For localized versions, allow room for longer translated phrases instead of assuming every language will fit the original layout.
Keep Style and Characters Consistent
Visual drift usually happens when scenes are generated with no shared reference. If the production has a lead character, a hero product, or a signature location, establish it early and reuse the same reference material, style choices, and camera language throughout the project.
For a multi-scene workflow, use a simple continuity checklist:
- Keep character and product reference images available for every related shot.
- Use the same core style description and lighting direction.
- Do not change model settings mid-sequence unless a scene intentionally changes world or time.
- Review shots in their final order, not only one at a time.
Export and Scale the Workflow
Once the edit is approved, export versions that match their destination. Short-form platforms often need vertical framing and burned-in captions, while presentation or web video may need a different aspect ratio, file size, and opening pace.
Teams producing at volume can document a reusable workflow: approved script format, scene-brief template, brand references, review stages, and export presets. That structure makes it easier to keep quality consistent as more creators contribute.
Common Mistakes to Avoid
- Starting with a vague script and expecting the visuals to add the missing strategy
- Generating a full story in one pass instead of working through scenes
- Changing the character, product, or visual style without a reference
- Writing captions after the edit is locked
- Skipping a full-sequence review at real playback speed
FAQ
What do I need before generating a video from a script?
Bring a finished message, a scene-by-scene outline, and any references that must remain consistent. Decide the delivery format before writing the shots.
Can script-to-video work for commercial content?
It can support commercial workflows, but teams should confirm the current platform terms, asset rights, and approval requirements for their specific use case before publishing.
Who benefits from script-to-video AI?
It is useful for independent creators, marketing teams, agencies, and production groups that need to turn a defined message into a visual draft quickly while preserving room for creative review.
Conclusion
Script-to-video works best as a guided production workflow rather than a one-click replacement for creative direction. Prepare the script, break it into shots, establish references, and review the sequence as an editor would. That process turns AI video into a practical way to move from a written idea to a purposeful visual story.
For production planning beyond the generator, compare Adobe’s shooting script guide and storyboarding guide. You can then extend the workflow with our guides to AI video with audio, long-form AI video, and AI video for short films.